Automate SDS CSV Upload with Power Automate
With School Data Sync (SDS) and Power Automate, you can sync your locally exported SIS/SMS CSV files automatically and keep your Microsoft 365 data up to date. No more manual changes or manual csv uploads through the SDS user interface for the active academic session. Provides the following benefits:
- Makes managing and monitoring local csv file uploads easier.
- Keeps Microsoft 365 users and classes updated based on changes from SIS/SMS rather than manual changes by educators or administrators.
- Manage entire upload process via Power Automate UI in the cloud, which is simpler to use than PowerShell scripts.
- All monitoring and management of the solution happens in Microsoft 365.
- Server OS Support for better reliability and on-premises data gateway for local file upload.
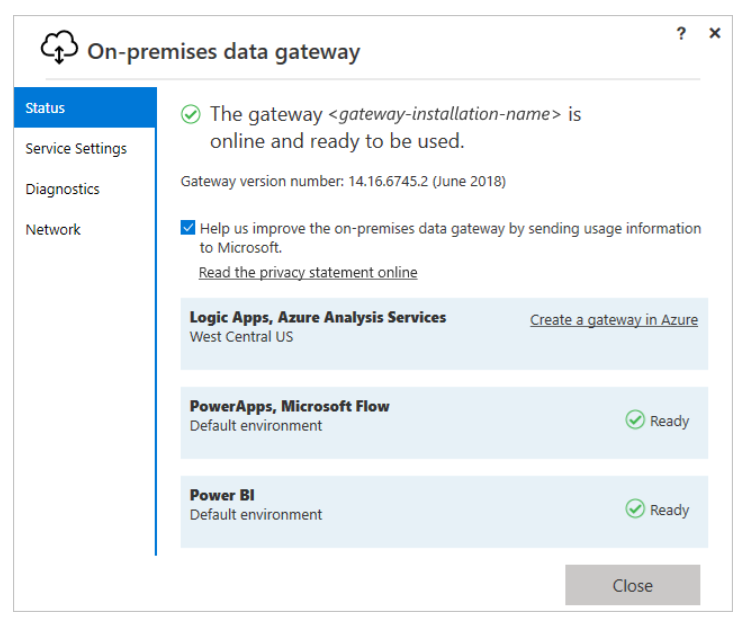
Begin with installing Configuring CSV file location, which includes installing an on-premises Data Gateway, which should take about 5 minutes to configure. Next you will, Configure Power Automate Flow to use the School Data Sync template that connects to the gateway, and use the SDS connector to push files into SDS for processing.
Important
Do not forget to create a Local Service Account on the machine that has the Gateway installed on it. Instructions can be found here. This is required for the File System portion of the Flow creation.
Prerequisites
Refer to Install an on-premises data gateway for a full list of requirements and in case there are any installation problems.
Minimum requirements
- .NET Framework 4.6 (Gateway release August 2019 and earlier)
- .NET Framework 4.7.2 (Gateway release September 2019 and later)
- A 64-bit version of Windows 7 or a 64-bit version of Windows Server 2008 R (or later)
Recommended
- An 8-core CPU
- 8 GB of memory
- A 64-bit version of Windows Server 2012 R2 or later
- Solid state drive (SSD) storage for spooling
Important considerations
- Gateways aren't supported on Server Core installations.
- The user installing the gateway must be the admin of the gateway.
- The gateway can't be installed on a domain controller.
- If you're planning to use Windows authentication, make sure you install the gateway on a computer that's a member of the same Active Directory environment as the data sources.
- You shouldn't install a gateway on a computer, like a laptop that might be turned off asleep, or disconnected from the internet. The gateway can't run under any of those circumstances.
- If a gateway uses a wireless network, its performance might suffer.
- You can install up to two gateways on a single computer: one running in personal mode and the other running in standard mode. You can't have more than one gateway running in the same mode on the same computer.
Ports
The gateway creates an outbound connection to Azure Service Bus. It communicates on outbound ports: TCP 80, 443 (default), 5671, 5672, 9350 through 9354. The gateway doesn't require inbound ports. If you restrict outbound ports on your server, you must ensure these outbound ports are open.