Reverting back to SDS (Classic)
Note
We recommend that you first work with your deployment manager or support to address any concerns before performing these steps.
There are two main steps that need to be completed:
In SDS, complete the step for Revert back to School Data Sync (Classic).
Run PowerShell Script to update Microsoft Entra users Anchor ID if your SDS (Classic) Sync Profile formats will be configured to use SDS CSV v1, CSV UK, CSV Clever, or OneRoster.
Revert to SDS (Classic)
The following steps will only delete any Microsoft 365 users, Group & Teams outbound flows in SDS. These steps won't remove the inbound flow or data from your data lake. These steps will also not remove any data that SDS has provisioned to your tenants Microsoft Entra ID from the Microsoft 365 outbound flows.
SDS will remain the only way to enable Insights Premium scenarios. You can continue to use your current inbound flow to provide the organizational data context for analytics.
Navigate to the Settings page.
Select Revert back to School Data Sync (Classic) from the list provided to open the fly-out panel.

To continue, select the option at the bottom of the fly-out Revert back to SDS (Classic). If you don't wish to continue, select Cancel.

You'll receive a dialog asking you to confirm if you're sure you want to revert to SDS (Classic). Select Confirm to proceed or Cancel to abandon the process.

A progress notification will appear while the request is processing to delete any Microsoft 365 users, Group & Teams outbound flows. Wait until the process is complete.

Once the process is complete, a dialog will state that the system has deleted the Microsoft 365 outbound flows. Select Go back to SDS (Classic) to go to SDS (Classic).
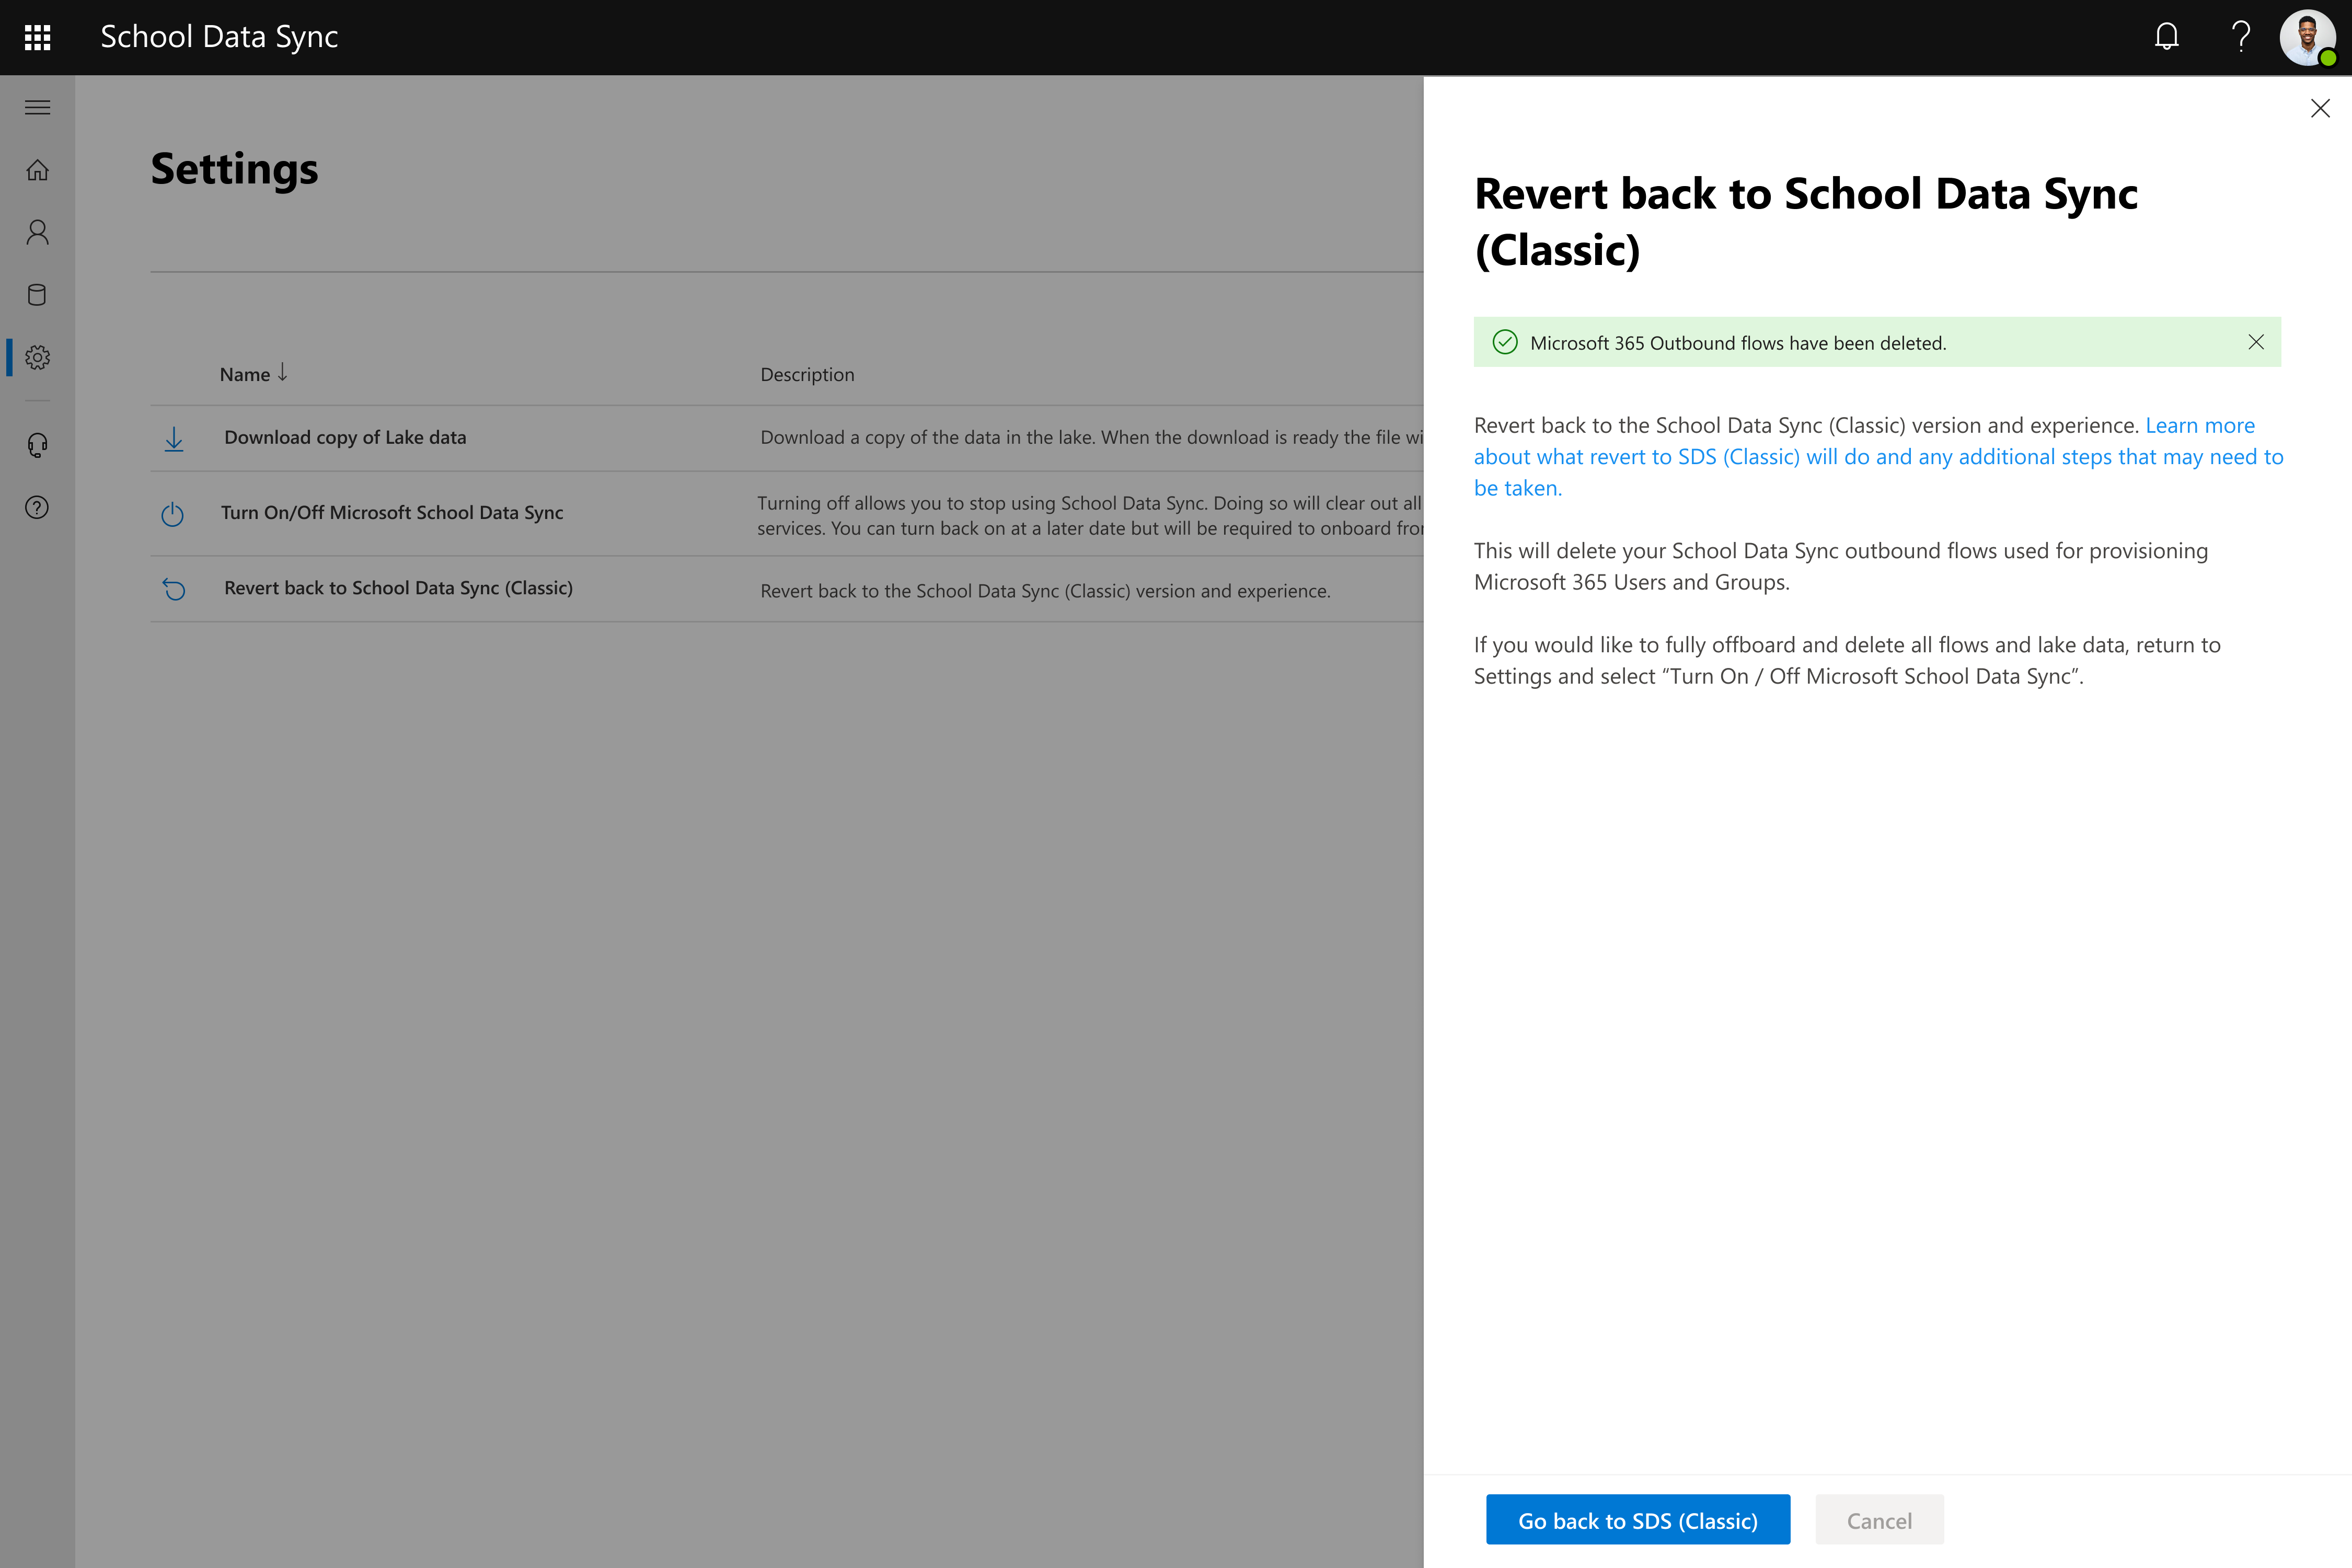


After the Revert to SDS (Classic) completes, the SDS (Classic) interface will be available and unlocked.
Important
If your SDS (Classic) sync profile is to be configured with SDS CSV V1, CSV UK, CSV Clever, or OneRoster, you'll need to perform an additional manual step to update your SIS ID back to the supported approach for these ingestion formats with SDS (Classic) by running a Powershell Script to update users to the SDS (Classic) format.
Updating back to SDS (Classic) anchor IDs approach
Background
SDS and SDS (Classic) support various sync methods including CSV file formats and API-based syncs. SDS can create users from the source data. Each user will have an anchor ID extension attribute. The anchor ID is used to identify previously synced users in Microsoft Entra ID to make sure SDS doesn't create duplicate accounts, if Create unmatched users is activated.
Update
The anchor ID format first changed with the SDS v2.1 CSV schema when it was first introduced with SDS (Classic). SDS brought this approach forward when the tenant sets up the Microsoft 365 managed users outbound flow.
SDS approach: Anchor ID format user_sisid
SDS (Classic) approach (for sync profile formats noted): Anchor ID format - student (SIS ID) and teacher (SIS ID)
If you revert to SDS (Classic), don't run the PowerShell script, and configure your SDS (Classic) sync profile with OneRoster API, or the SDS v1, UK, or Clever CSV formats SDS (Classic) won't find the previously synced users. The result will be errors or if Create users is selected, duplicate user accounts.
Solution
To mitigate the issues, you must run a PowerShell script – Restore V1 Anchor ID Attributes to update the anchor IDs for all previously created users to the SDS (Classic) SIS ID approach.
SDS (Classic) will then find and match all previously synced users and only create new users that haven't been synchronized before, if Create Users is selected when creating your SDS (Classic) sync profile.